Introduction:
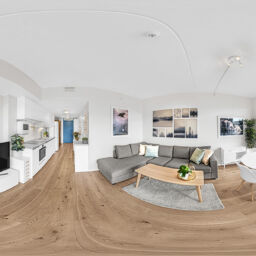
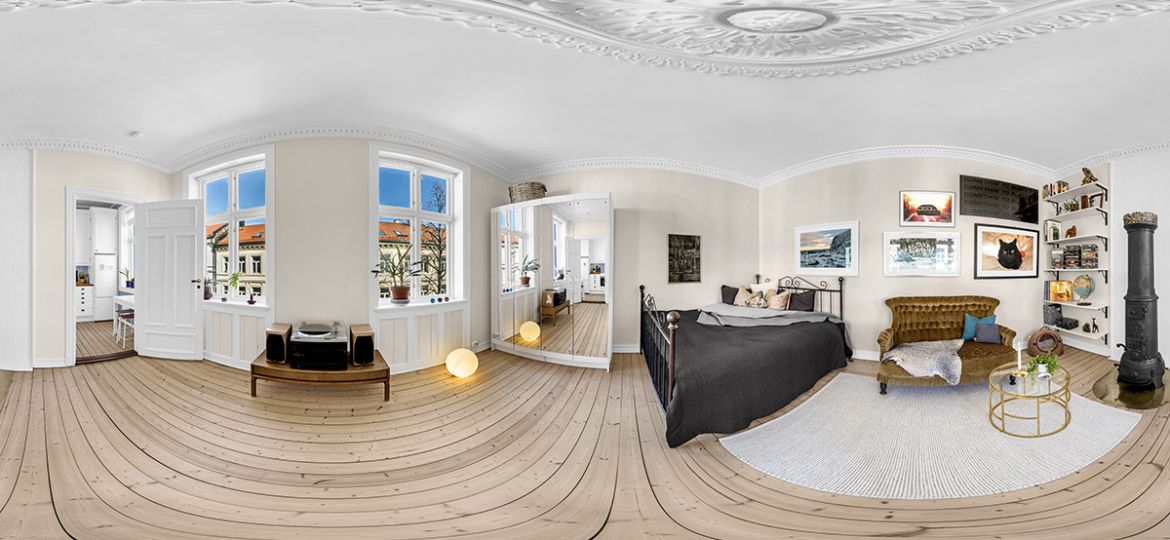
With panoramic photography, you can take pictures of vast scenes or beautiful landscapes that might not fit within a regular camera frame. With the help of Adobe Photoshop’s robust Panorama Stitching features, photographers can easily combine several photos into a single, coherent panoramic image. We’ll look at how to utilize Photoshop for panoramic stitching services and the key tools to make the most out of it in this blog post.
Capturing Panorama Shots:
Before diving into Photoshop, it’s crucial to capture high-quality images for panorama stitching. Use a sturdy tripod to maintain consistent framing and avoid camera shake. Overlap each shot by at least 20-30% to provide enough information for seamless stitching.
Importing Images into Photoshop:
Begin by launching Adobe Photoshop and selecting ‘File’ > ‘Automate’ > ‘Photomerge.’ This feature helps to automatically align and blend the imported images.
Photomerge Options:
Photoshop provides various layout options for stitching panoramas. For most situations, the ‘Auto’ option usually functions well. Nevertheless, depending on the scene, playing with “Perspective,” “Cylindrical,” or “Spherical” may provide varied effects.
Geometric Distortion Correction:
Check for any geometric distortions or misalignments following the initial stitching. Utilize the ‘Transform’ tools to ensure that straight lines seem natural and to fix perspective problems. This action is necessary to keep the panorama realistic.
Content-Aware Fill and Crop:
Once the panorama has been adjusted and is free of distortion, fill in any gaps that were left by the stitching process using the ‘Content-Aware Fill’ tool. After that, crop the picture to get rid of the edges that are uneven and highlight the most important scene.
Adjusting Exposure and Color Balance:
The exposure or color balance of a panorama may change between different shots. To balance the overall tone and color of the panorama, use the ‘Camera Raw Filter’ or adjustment layers like ‘Levels’ and ‘Curves’.
Sharpening and Noise Reduction:
Apply selective sharpening to enhance details in the panorama. Additionally, use noise reduction tools to address any artifacts introduced during the stitching process.
Using Smart Objects for Flexibility:
Convert the panorama layer into a Smart Object. This allows you to make non-destructive edits and retain the flexibility to go back and adjust settings without losing image quality.
Exporting and Sharing:
After your panorama has been adjusted, export it in the format of your choosing. For printing or internet sharing, JPEG and TIFF are common options. To fully display the impact of your panorama, print off or share your work of art on social media.
Experimenting with Filters and Effects:
Analyse more Photoshop effects and other Image Editing filters to give your panoramic a more artistic touch. The visual appeal can be improved by employing strategies like vignette addition, saturation adjustment, or artistic filter use.
Conclusion:
For photographers, learning Photoshop Panorama Stitching offers up a whole new creative realm. With a little effort and the help of Photoshop’s robust capabilities, you can combine several photos to create breathtaking panoramas that enthral visitors and highlight the entire splendour of the places you’ve selected. Use Adobe Photoshop to experiment, hone, and relish the process of converting regular photos into stunning panoramas.